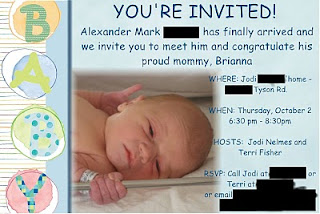
 (Not to worry, I did send with the right information! I just don't want to share too much personal stuff here!)
Here's how to do it (assuming you know how to use Storybook Creator Plus already!) Open up the program and:
1. Create a new project.
2. Scroll through “Select a Project Type” and choose either 4x6 Portrait or 4x6 Landscape.
3. Select Blank Template.
4. Click Next (you’re skipping over the auto-populate)
5. Name the project – I use 4x6 Portrait (or Landscape) and then use this project for all my invitations, etc. so I don’t have too many on the go.
6. Click Create.
Complete your project! Once you have finished it and are happy with it, here’s the next part of the process.
1. Make sure you are in the Home Tab/Ribbon.
2. In the Project Box, click the down arrow below the Save button.
3. Select “Save Pages As” (a new box will pop up)
4. Click Save.
Now to email:
1. Compose your email.
2. Attach the file – you’ll probably find it in Your Name/Creative Memories (If you start doing a lot of invites/page prints/decorated photos, you might want to set up a folder called Individual Pages – I can help you with this).
3. Choose your recipients and SEND!!
Hope you enjoy trying this out - I've used it for everything from Change of Address cards to Birthday invitations to Workshop Schedules, even for a funeral card.

No comments:
Post a Comment